
Last updated November 15, 2026
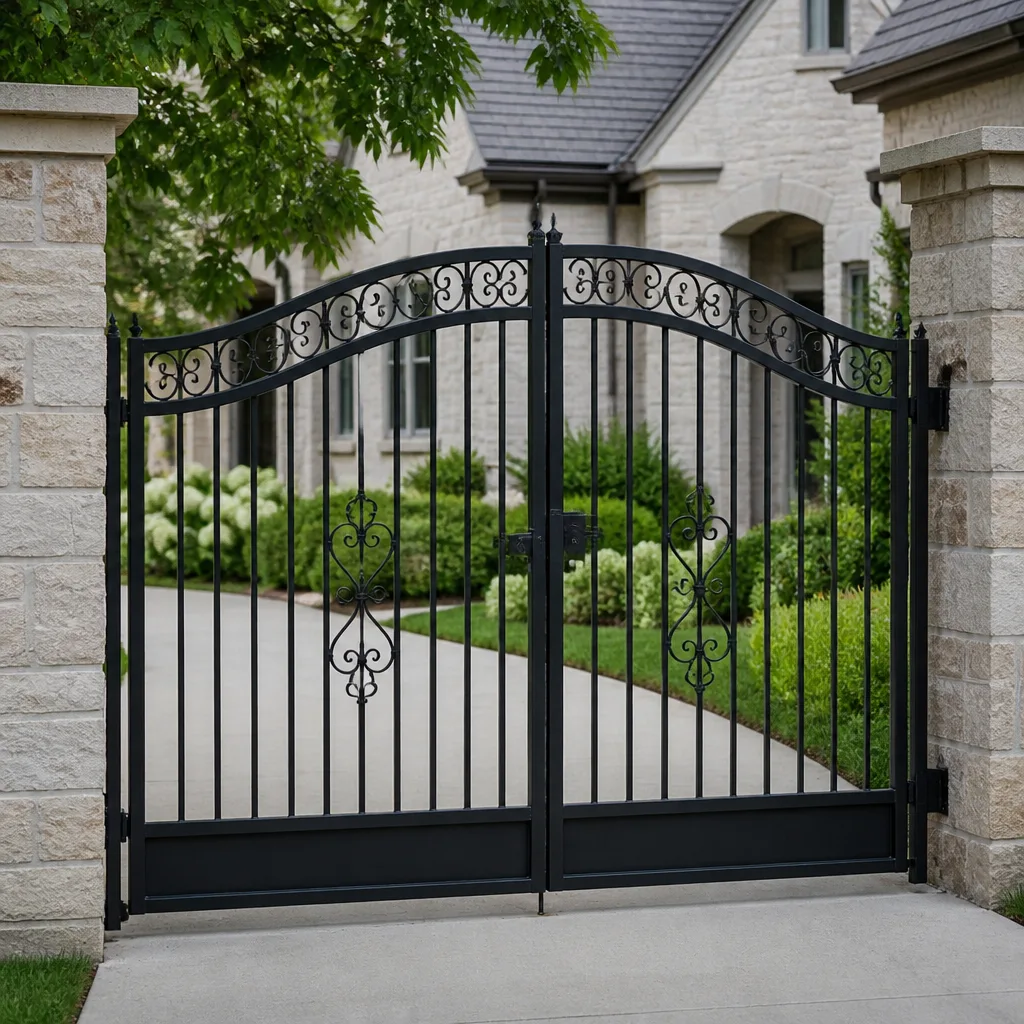 Wrought iron
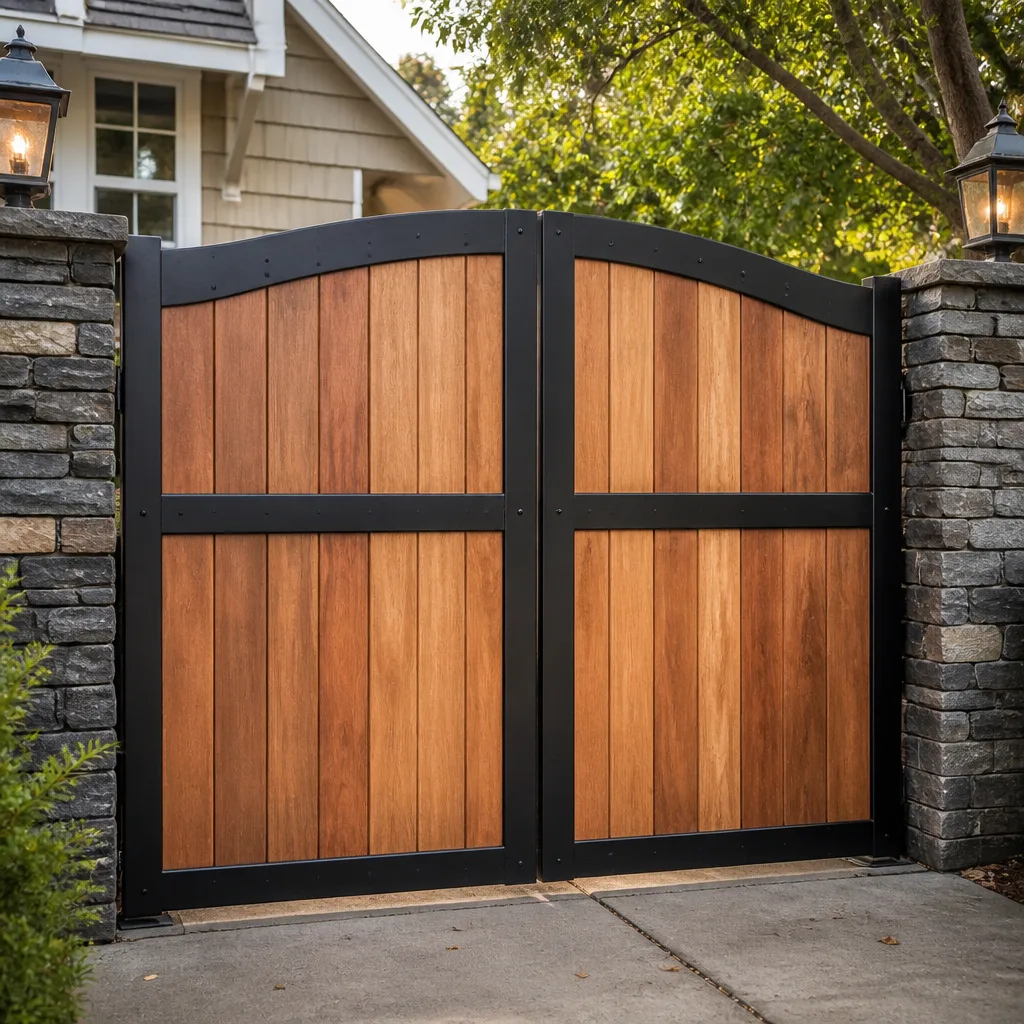 Wood & steel frame
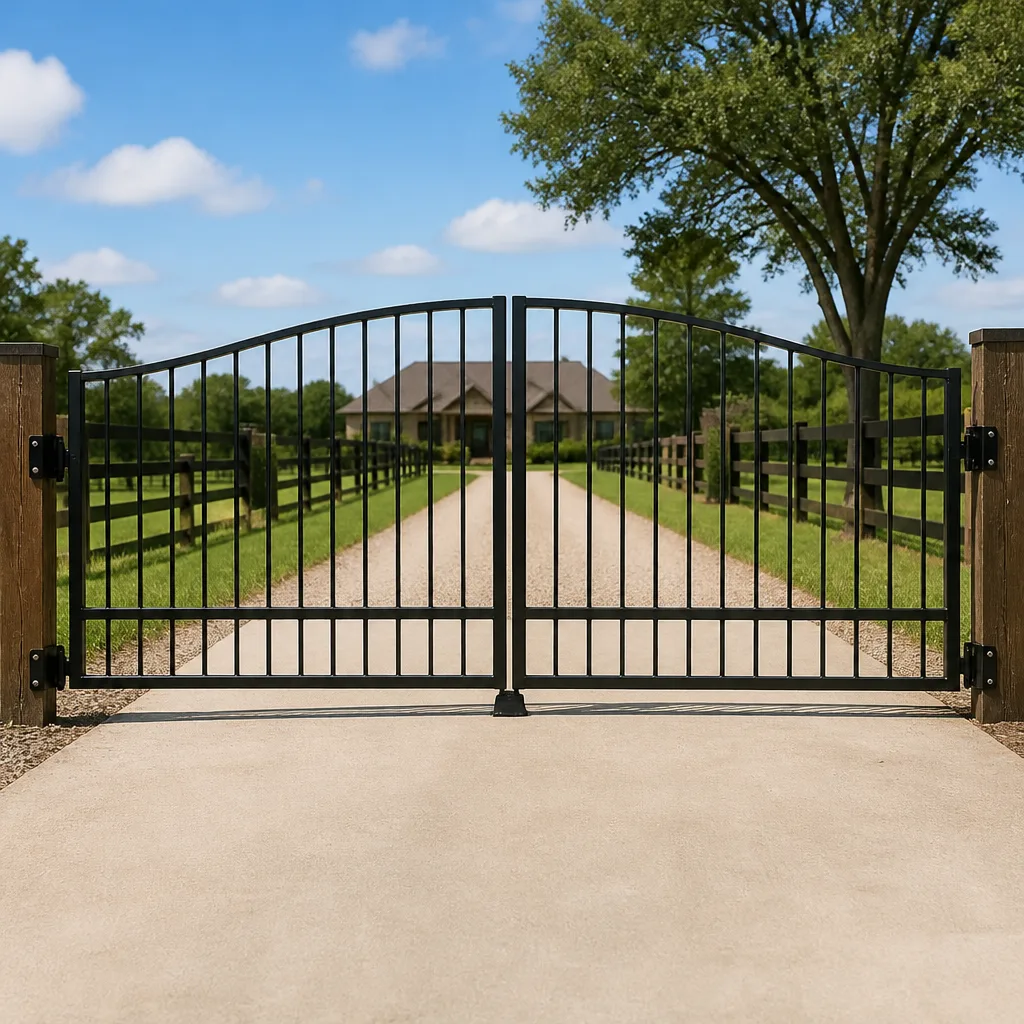 Farm & ranch
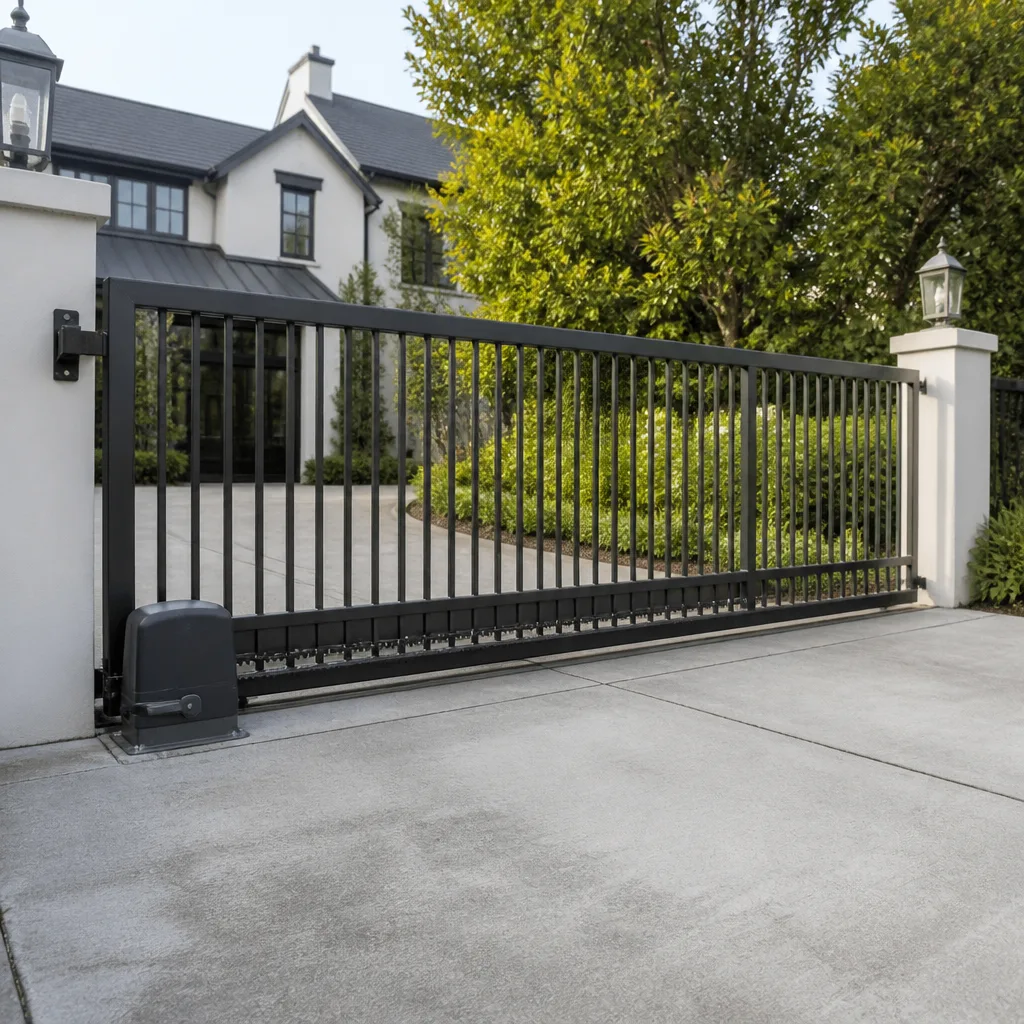 Sliding driveway gates
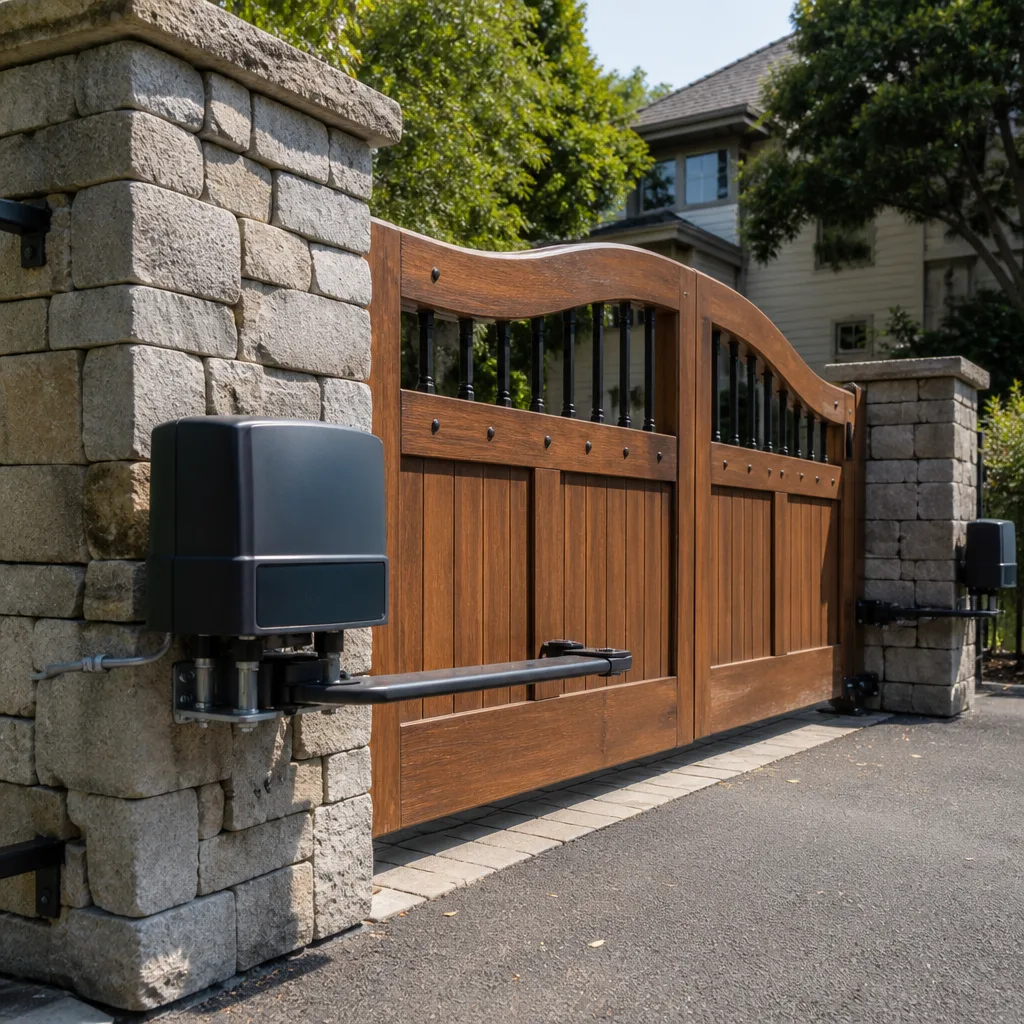 LiftMaster operators
Free on-site gate assessment - hinges, posts, and your LiftMaster or Nice gate operator checked before anything is quoted
The assessment is free and the quote is the invoice.
Get your free estimateGate Repair Maintenance Checklist for New Braunfels Homeowners
Spraying WD-40 on a gate hinge is the maintenance equivalent of putting a bandage on a cracked foundation. It feels productive and changes almost nothing. Most gate failures we’re called out to fix aren’t sudden breakdowns – they’re the end of a slow drift that a real inspection would have caught months earlier. The problem is that most homeowner maintenance routines are generic: oil this, tighten that, call someone when it stops. A gate isn’t a lawnmower. Chain-drive and worm-drive operators want different products, swing gates crack at predictable weld points, and a photo-eye that “looks fine” can be failing silently. This guide gives New Braunfels homeowners an actual inspection sequence, broken down by component and by month, so you can catch the repairs worth catching before they turn into replacements.
Quick Answer
A gate maintenance checklist should be built around your specific operator and gate hardware, not a generic lube-and-go routine. For most New Braunfels properties, that means a monthly five-minute visual and sensor check, a quarterly lubrication and hardware pass (chain operators get chain lube, worm-drive gearboxes get gear oil or grease – never the same product), and an annual full inspection of welds, hinges, battery backup, and control board connections. Follow that sequence and you’ll catch the failures that actually cost money.
Styles & brands we work with
- Wrought iron
- Wood & steel frame
- Farm & ranch
- Sliding driveway gates
- LiftMaster operators
Table of Contents
- Why a Generic Gate Checklist Fails
- Monthly Checks: Five Minutes That Save Repairs
- Quarterly Lubrication: Chain vs. Worm Drive
- Weld Stress Fractures: Where to Look on Swing Gates
- Testing Photo-Eyes and Obstruction Sensors Correctly
- Battery Backup Health Checks by Operator Brand
- The Annual Full Inspection, Step by Step
- Repair or Replace? An Honest Framework
Why a Generic Gate Checklist Fails
Most gate maintenance advice on the internet was written for a specific type of gate by someone who didn’t tell you which type. That’s the core issue. A checklist built for a light residential Mighty Mule swing operator will steer you wrong if you’re running a DoorKing slide operator on a heavier commercial-grade installation, and vice versa. The components differ, the tolerances differ, and the failure modes differ.
We work on nine major gate brands – LiftMaster, FAAC, BFT, Linear, Viking, Ghost Controls, DoorKing, Elite, and Mighty Mule – and the single biggest reason homeowner maintenance doesn’t prevent repairs is that people apply the wrong product to the wrong part. They spray chain lube into a sealed worm-drive gearbox. They grease a photo-eye lens “to protect it” and now the sensor can’t see. They tighten a loose hinge bolt that was loose because the weld behind it had already cracked.
An effective checklist has three traits that generic ones lack:
- It’s component-specific. Chain and worm drive need different lubricants. Swing and slide gates stress different welds. Sensors on different operators test differently.
- It’s sequenced by frequency. Some tasks belong monthly, some quarterly, some once a year. Cramming everything into one annual routine means the small stuff drifts for eleven months.
- It produces information. A good inspection tells you something – a hairline crack, a slow battery drain, a sensor that trips late. That’s what lets you decide repair versus wait.
The rest of this guide is that checklist. It’s written for the systems New Braunfels homeowners actually run, and it’s designed so that if you ever need to hand the job off, you can say exactly what you found. That saves diagnostic time and, usually, money.
Monthly Checks: Five Minutes That Save Repairs
The monthly pass is the shortest and, honestly, the one that catches the most. You’re not taking anything apart. You’re watching the gate work and looking for what’s changed since last month. Do it at the same time each month so you have a baseline.
- Cycle the gate a few times and watch it. Not from inside the car. Stand where you can see the whole travel path. Listen for new sounds – a thunk on close, a groan at the midpoint, a click that wasn’t there before.
- Check the speed and the soft stop. An operator that suddenly closes faster, or slams instead of easing into the end of travel, is telling you something. On most brands the slowdown is a settable feature, and a change means the control board, the limit switches, or the mechanical resistance has shifted.
- Look at the track or the hinges. On a slide gate, walk the track and feel for debris, gravel, or leaves packed into the channel. On a swing gate, open it by hand – with the operator disengaged – and feel whether it swings freely. A gate that binds by hand is fighting the motor.
- Check the photo-eye lenses. Look for dust, spider webs, and the small alignment you can see by eye. Do not touch the adjustment screws. Just clean the lens with a dry cloth.
- Test the obstruction response once. More on how to do this correctly below – a bad test is worse than no test.
That’s five minutes. If something’s off, you’ve got a symptom to hand to a technician, which is far more useful than “it stopped working.” In a New Braunfels summer, dust and pollen collect in slide tracks fast, so if your property has live oak or cedar nearby, that track sweep is worth doing twice a month rather than once.
Quarterly Lubrication: Chain vs. Worm Drive
This is where most homeowners do damage. Chain-drive operators and worm-drive operators are different mechanisms, and the wrong lubricant does more than not help – it can attract grit, gum up seals, or break down the grease that’s supposed to be there.
Chain-drive operators
If you can see the chain, it’s a chain-drive unit. These want a chain-specific lubricant applied sparingly along the links, then wiped down. The goal is a thin film, not a coat. Excess lubricant flings off onto the gate and collects grit, and grit is what wears out sprockets. Wipe after applying.
Worm-drive operators
Worm-drive units are usually enclosed. You will not see the drive. These run in an oil or grease bath that’s sealed at the factory. The homeowner maintenance task here is inspection, not lubrication – check for weeping seals, oil stains under the operator housing, or grease trails on the gate arm. If you see oil where it shouldn’t be, that’s a technician call. Do not open the housing to “top it up.”
Everything else that moves
- Hinges on swing gates: a light machine oil or a grease that suits the hinge type. Grease fittings get greased. Do not use WD-40 as a lubricant; it’s a solvent and displaces the lubricant you actually want.
- Rollers on slide gates: check for free rotation, grease sparingly if the roller has a fitting.
- Track: clean, never lubricated. A greased track collects grit and turns into a grinding paste.
- Locks and latches: graphite or a dry lubricant, not oil, which attracts dust.
Do this quarterly, not monthly. Over-lubrication is a real failure mode – it’s why we often find chain operators with packed sprockets that could have lasted years on a thinner schedule. If your operator runs a heavy cycle count (a busy access-controlled entry), the interval shortens. If it runs a few times a day, quarterly is right.
Weld Stress Fractures: Where to Look on Swing Gates
Swing gates fail at predictable places. Metal fatigue doesn’t happen randomly – it concentrates at stress points, and swing gates have three or four of them that account for nearly every weld failure we’ve seen in New Braunfels.
You’re looking for hairline cracks, not big obvious breaks. A fracture often starts as a thin dark line or a slightly fresher-looking surface on the weld bead. Catch it while it’s short and it’s a cheap fix. Let it spread and the whole member needs to come out.
The four stress points to check
- Where the hinge post meets the gate frame. This is the top of the list. The entire gate’s weight and swing load pass through here every cycle. Look closely at the weld on the vertical frame member where it attaches to the hinge plate.
- At the gate frame’s mid-rail to outer-rail junction. On a box-frame swing gate, the corners and T-joints of the horizontal rails carry the bending load. Check both faces of each joint.
- Where the operator arm attaches to the gate leaf. The push-pull load from the operator goes into a small bracket, and that bracket’s welds flex with every cycle. A weak or cracked bracket weld is a common cause of “the motor works but the gate barely moves.”
- At the bottom hinge and base plate into the ground. Easy to miss because it’s low. Look at the base plate for cracks and check whether the post has moved or leans.
In New Braunfels, gates that sit in full afternoon sun and cycle dozens of times a day run hotter and flex a little more than gates in shade, so the weld inspection is worth doing carefully rather than quickly. Clean the weld with a wire brush or rag so you can actually see the metal. If you find a crack, stop cycling the gate and get a technician to look. A hairline weld is a repair; a full break while the gate is moving is a replacement or worse.
Testing Photo-Eyes and Obstruction Sensors Correctly
Most homeowner sensor tests give a false pass. The standard test is to wave a hand in front of the beam and see if the gate reverses. Problem is, a misaligned pair of photo-eyes can still trip when you put your hand right at the lens, but won’t trip for a child, a pet, or a vehicle at the far edge of the beam. So you pass the test and the sensor is still broken.
How to test photo-eyes properly
- Clean both lenses first. Dry cloth, no solvent. Dust and web are the most common cause of “false” failures.
- Stand back and test the whole beam. With the gate closing, walk through the beam at the far edge, not right at the sensor. Test low, near the ground where a pet would be, not just at waist height.
- Test each side independently. Cover one lens completely with your hand (don’t touch the lens surface) and see if the gate reverses. Then do the other. A pair that works only one way is out of alignment or has a failing receiver.
- Check the indicator lights. Most operators have a status LED on the photo-eye. Confirm it’s showing the state the operator manual says means “beam clear.” If it’s flickering, the alignment is marginal.
- Do not adjust the alignment screws. This is the one that trips people up. Nudging the bracket to “make it work” often leaves it just barely aligned, which is worse than clearly broken because it passes a casual test.
Obstruction sensing vs. photo-eyes
These are different systems and both need testing. Photo-eyes are beams across the opening. Obstruction sensing is the operator’s own response to resistance during travel – the operator feels the gate push against something and reverses or stops. Test it by placing a firm object (a piece of wood, a cardboard box) in the path and cycling the gate. It should stop or reverse without crushing. If it keeps pushing, the force setting is too high or the sensing has failed – and that’s a call-us-now situation, not a next-month item. Photo-eye and obstruction testing is core work for electric gate repair, and it’s the safety check worth taking seriously.
Battery Backup Health Checks by Operator Brand
Battery backup is where homeowners get surprised. A gate that “works fine” on mains power can leave you locked out the moment the power goes down, and the only way to know is to test the battery. The test is similar across brands, but what you’re looking for differs a little by operator.
The universal test
Cut power to the operator at the breaker for a moment (or use the operator’s own test function if it has one), then cycle the gate. It should open and close at least once on battery alone, and the operator’s status light should indicate the battery is charged. If it moves slowly, or not at all, or the light shows a fault, the battery needs attention.
Brand-specific notes
- LiftMaster: many LiftMaster residential operators run backup on an internal or external battery. Check the operator’s status indications and confirm the battery is holding charge under load, not just showing green on the wall. A LiftMaster unit that fails a genuine power-cut test has a battery problem, whatever the LED says.
- Viking: Viking operators are common on residential swing gates in the area, and their backup health depends on a healthy control board as much as the battery. If the backup misbehaves intermittently, the board’s charging circuit is worth testing.
- DoorKing: DoorKing units on commercial-grade access-controlled entries often run backup batteries sized to the load, and a tired battery shows up as a gate that opens but won’t complete a close on battery. Test the full cycle, not just the open.
- Mighty Mule and Ghost Controls: these entry-level DIY systems are honest about their backup – typically a smaller battery that gives a limited number of cycles. Test yours and know how many cycles you actually get, so you’re not relying on a number that isn’t real.
Do the battery test quarterly, not annually. Batteries that pass in March can fail by September, and in a New Braunfels summer, a backup system that sits hot in an outdoor enclosure runs harder. If a battery is more than a few years old and fails the test, replacement is the answer – not a repair.
The Annual Full Inspection, Step by Step
Once a year, do the full pass. This is the deep check that ties everything together, and it’s the one worth writing down. Set aside an hour, or hand it to a technician. Here’s the sequence.
- Foundation and posts. Walk the perimeter of both posts. Look for leaning, sinking, cracking concrete at the base, or movement when you push firmly. A gate that leans isn’t an operator problem – it’s a post problem.
- Full weld inspection. Do the four stress points from above methodically. Clean each weld first. Any hairline crack, note it and get it looked at.
- Hinge and roller check. Test each hinge for play. A hinge with visible up-down movement is wearing and should be replaced before it takes the gate frame with it. Check roller rotation on slide gates.
- Track or swing clearances. Confirm the gate doesn’t rub anywhere, and confirm the ground clearance is still what it was. Settling ground changes clearance.
- Operator housing and internals you can see. Check for water intrusion, insect nests, and rodent damage. In Texas, a warm enclosure is a popular home for critters, and chewed wiring inside a control box is far more common than people expect.
- Control board and wiring. Look – don’t touch – for loose terminal screws, corrosion, or evidence of heat. If the board looks discolored or the terminals are loose, get a technician. This is electric gate repair territory and worth not doing yourself.
- Battery backup test. Full power-cut cycle, as above.
- Safety device test. Photo-eyes and obstruction sensing, tested properly.
- Accessories. Keypads, remotes, intercoms, vehicle loop detectors. Test each one. A failing loop detector, for instance, is easy to miss until the gate stops opening for cars.
- Post and paint/finish condition. Rust at the base and along welds is a slow failure. Catch it early.
Write down what you find and the date. It’s not bureaucracy – it gives any technician a picture of what’s changed. And if you’re not comfortable with an item, that’s a sign to book a professional. Our technicians have up to 14 years of experience, and most of what we do on gate repair starts with an inspection that’s just more thorough than what a homeowner can do safely.
Repair or Replace? An Honest Framework
This is the question every gate owner gets to eventually, and the answer depends on more than age. A 5-year-old operator that’s been hit by a car needs replacement; a 12-year-old operator with a good control board and a good mechanical drive usually doesn’t. We don’t push replacement, and we don’t push repair when replacement is the smarter move. Here’s the framework.
Repair is usually the right call when:
- The failure is a single, identifiable component – a photo-eye, a control board, a battery, a limit switch, a hinge.
- The gate structure itself is sound, with no significant weld or post issues.
- The operator’s mechanical parts (motor, gearbox, drive) are in good condition, and the failure is electrical or control-side.
- The brand is still supported and parts are available. Brands like LiftMaster, DoorKing, and Elite are well-supported; that matters.
Replacement becomes the better answer when:
- Multiple major components are failing at once – control board plus motor plus gearbox, for instance.
- The gate structure itself is compromised: multiple weld cracks, a leaning or rusted-through post, a bent gate frame.
- The operator is obsolete, parts are unobtainable, and repair is going to be a constant cycle.
- Your access or security needs have changed enough that the current system can’t be adapted.
The honest answer for a lot of New Braunfels calls we get is “this is a repair, and you don’t need a new gate.” That’s the position we come from. We work on the brand you already have, whether it’s a Mighty Mule swing operator or a DoorKing slide unit, and the first step is always diagnosis, not a quote for a replacement you may not need. If replacement is genuinely the answer, we do installations too – so you’re not calling a second company. When you’re weighing it, a free estimate that actually diagnoses the problem is the way to start. Call (855) 939-0250.
Common Mistakes to Avoid
- Using WD-40 as a lubricant. It’s a solvent and displaces the right lubricant. It quiets a hinge for a week and leaves the mechanism worse. Use a proper lubricant for the component.
- Applying chain lube to a sealed worm-drive operator. Chain lube belongs on chains. Worm drives are enclosed and sealed for a reason – if you see a leak, that’s a technician call, not a top-up.
- Testing photo-eyes with a hand right at the lens. A misaligned pair passes that test and still fails a real one. Walk through the beam, and test low, where a pet would be.
- Adjusting photo-eye alignment yourself. It’s tempting and it usually leaves the bracket marginally aligned. That’s a sensor that passes a casual check and fails a real one.
- Tightening a loose hinge bolt without checking the weld behind it. The bolt was loose because the weld has started to fail. Snugging the bolt hides the crack for a while.
- Skipping the power-cut battery test. The operator working on mains power tells you nothing about the backup. Test it quarterly and know how many cycles you really have.
- Greasing the slide-gate track. Track wants to be clean and dry. Grease collects grit and turns into a grinding paste. Clean it, don’t lubricate it.
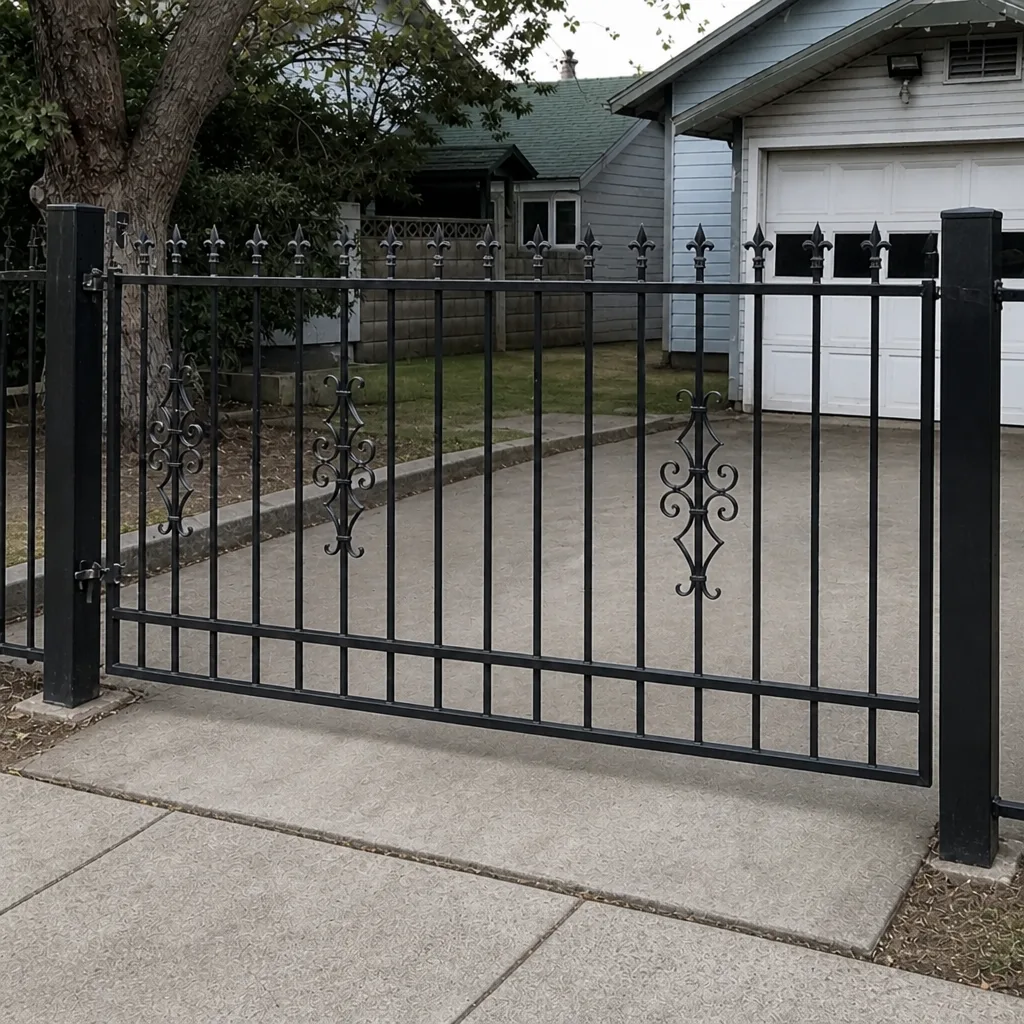
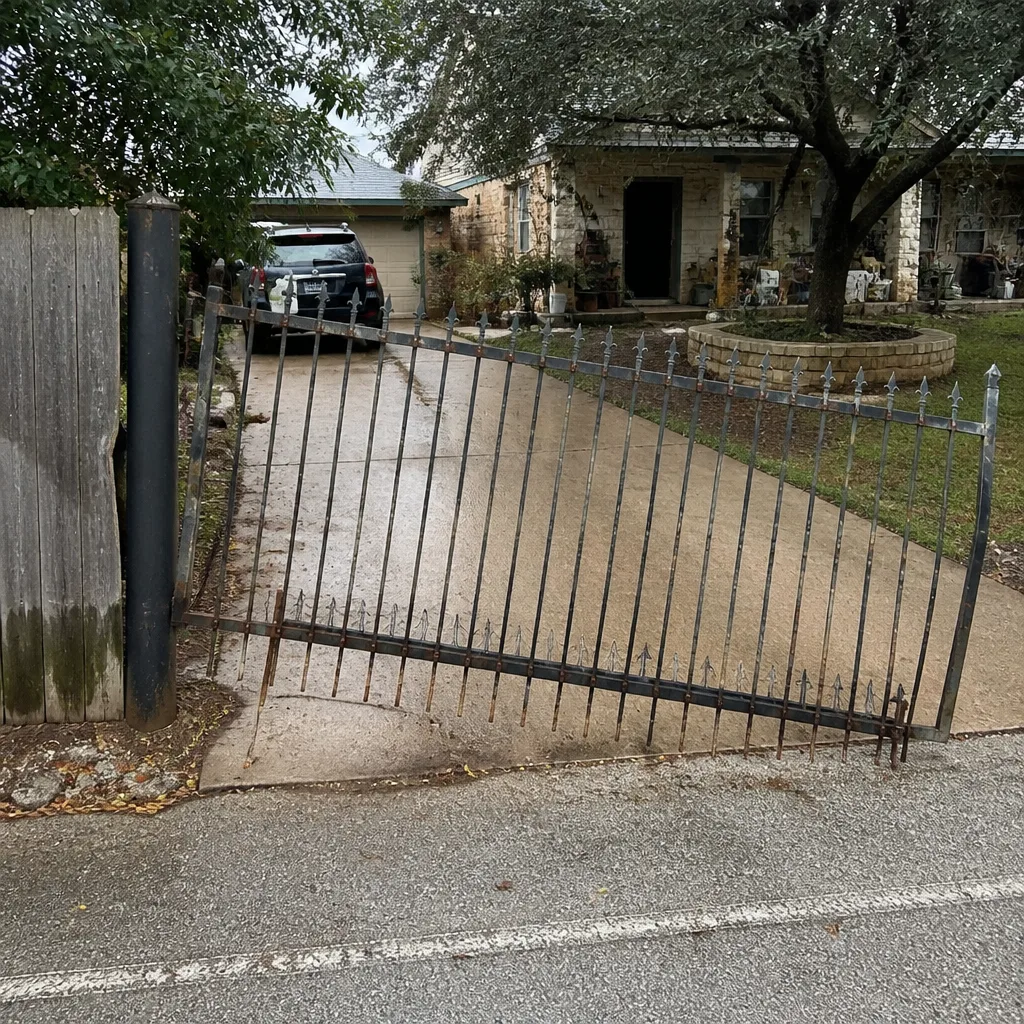
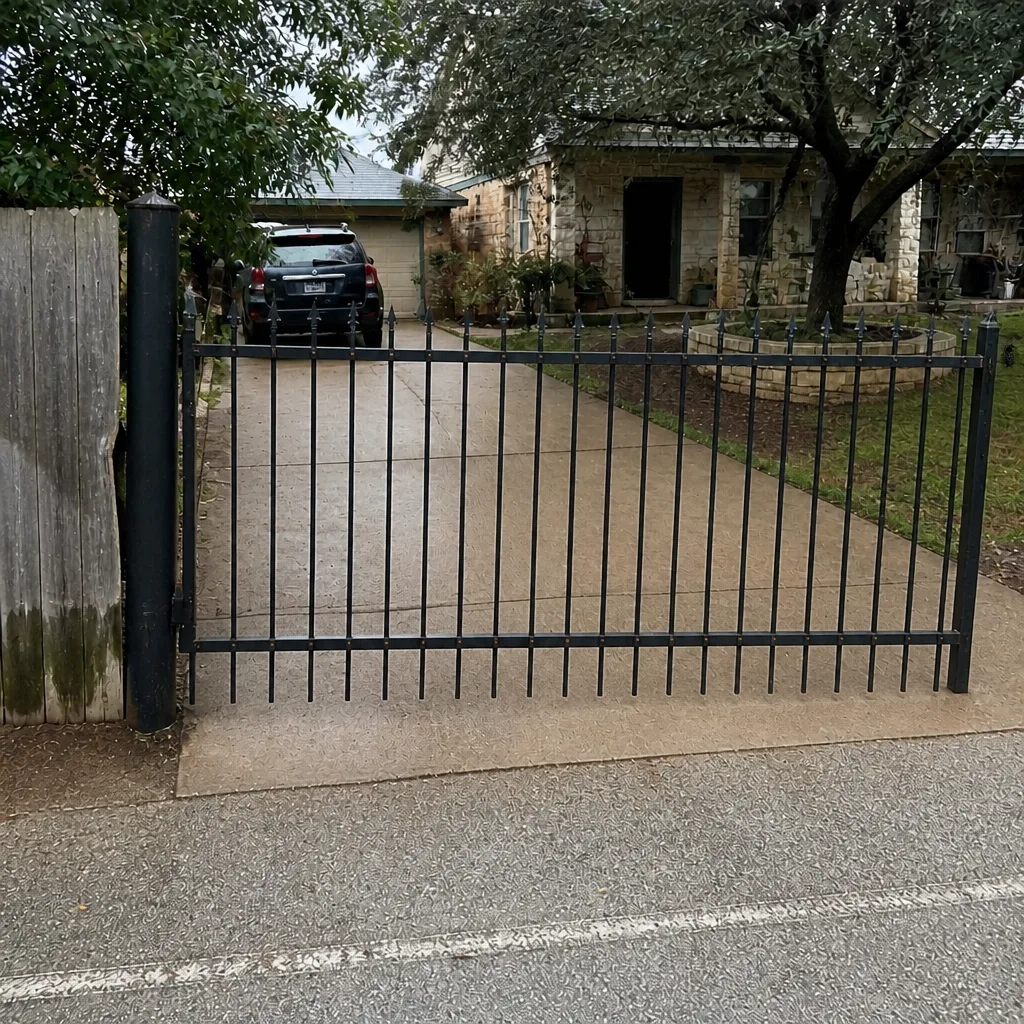
See the difference
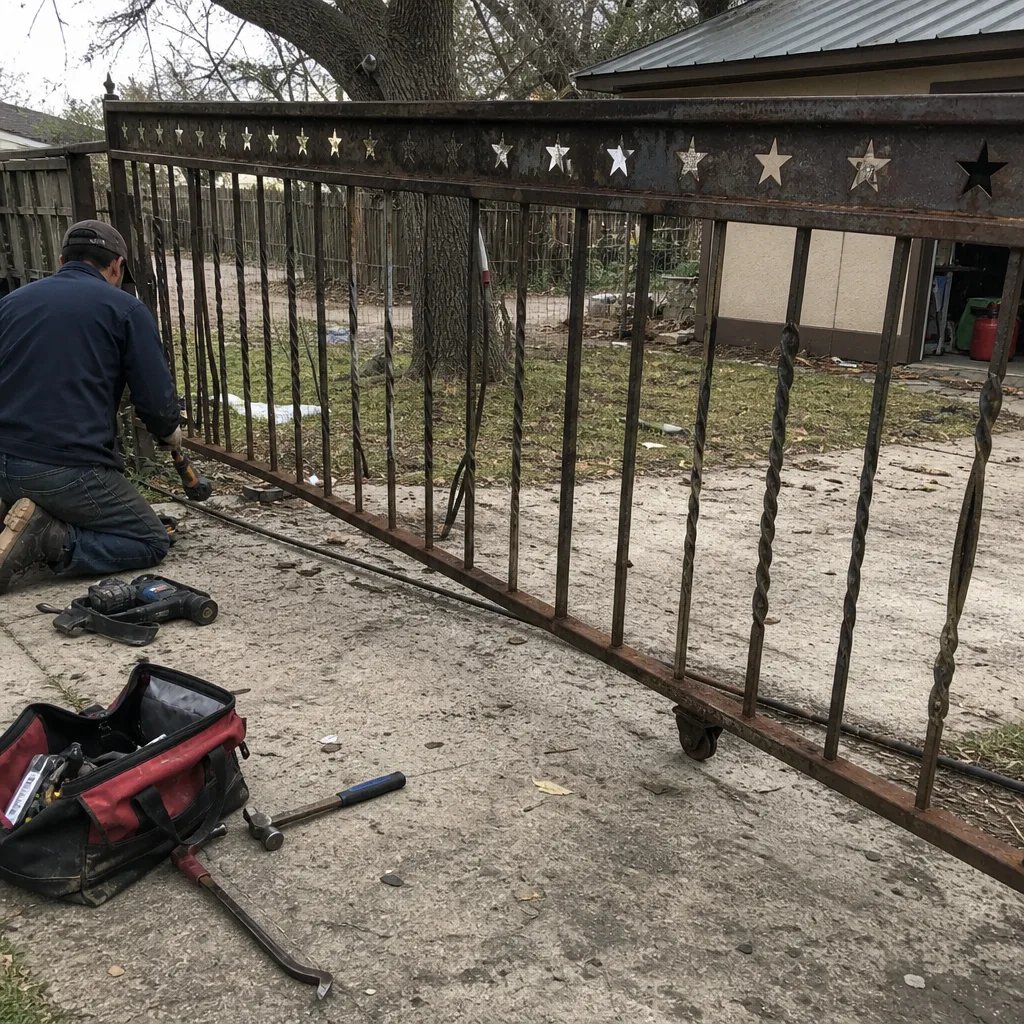 Before
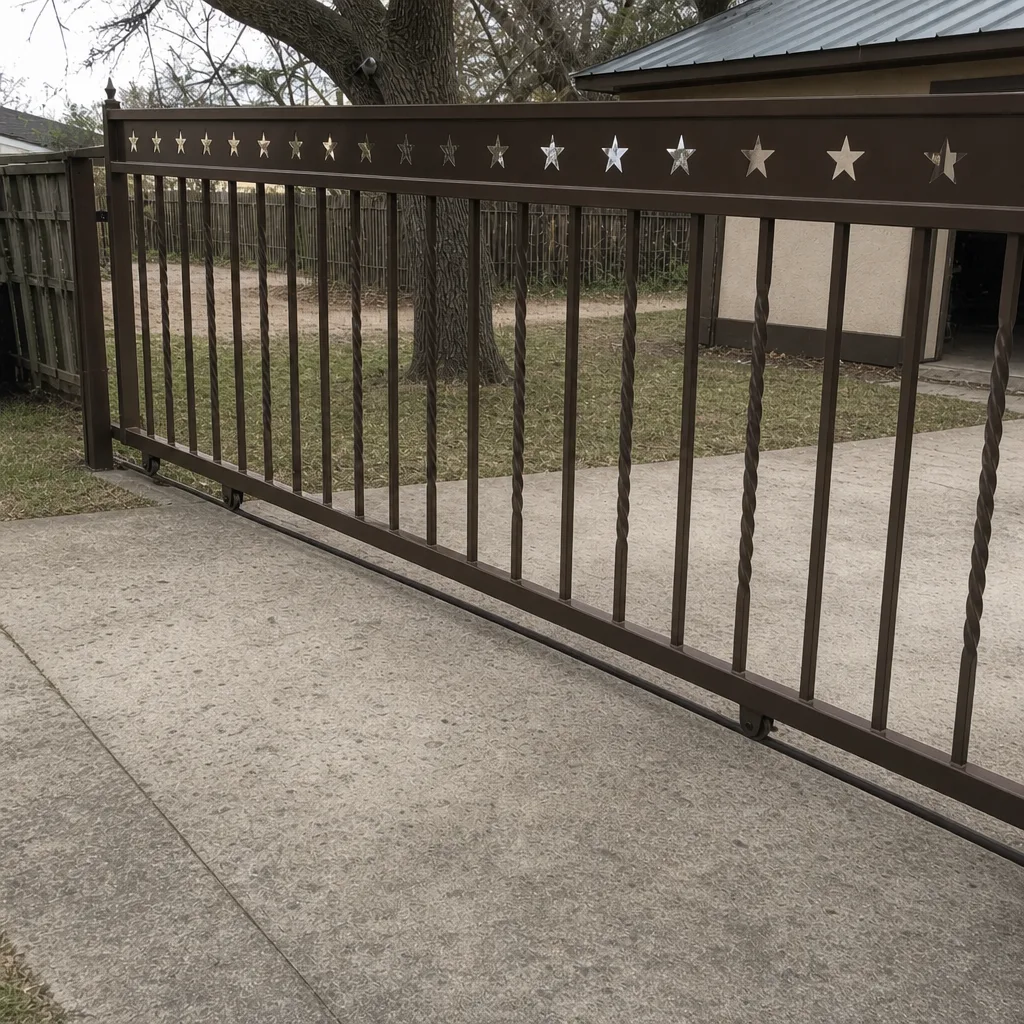 After
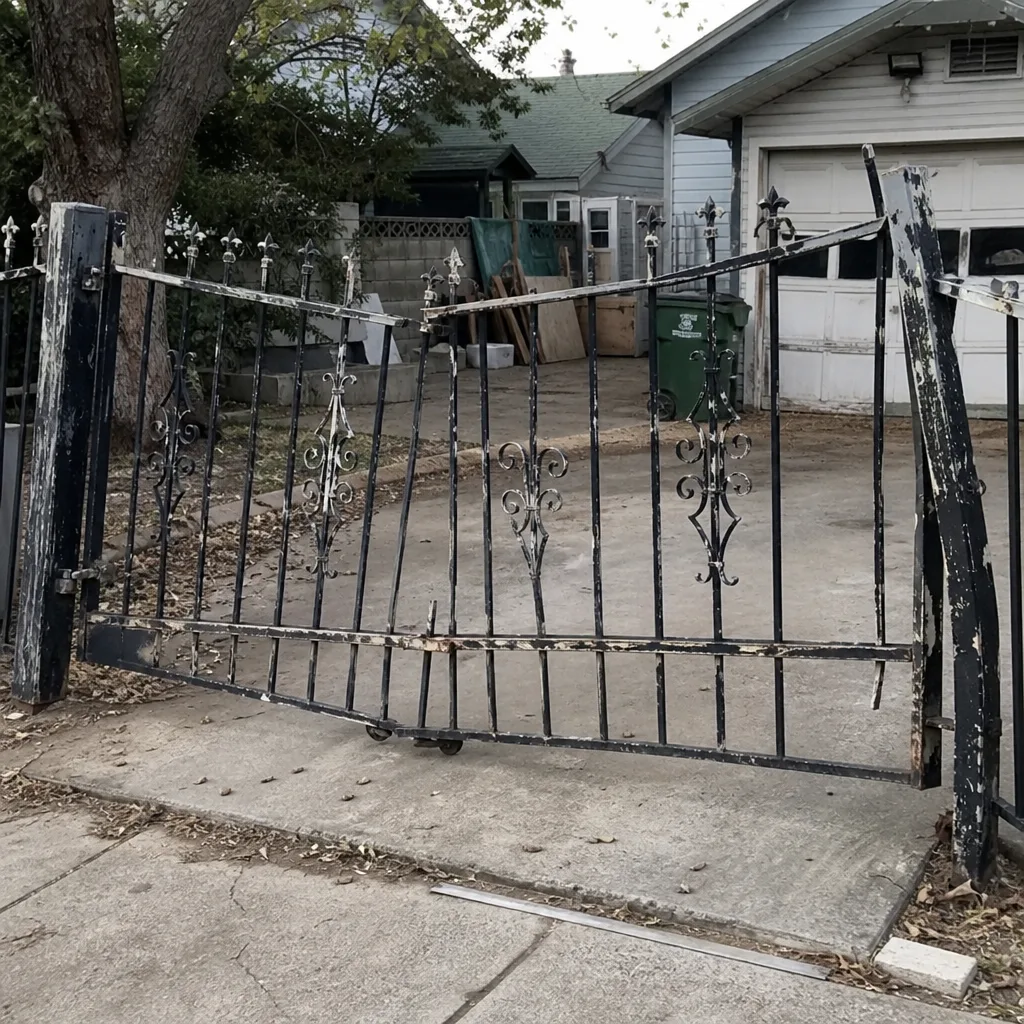 Before
 After
 Before
 After
When to Call a Professional
Some items on this checklist are safe for a homeowner to do. Others aren’t, and knowing the difference matters. Call a gate technician when you find a weld crack anywhere on the gate structure, when the gate leans or the post has shifted, when a control board, terminal, or wiring shows heat damage or corrosion, when obstruction sensing fails to reverse, when the battery backup fails a genuine power-cut test, or when the gate binds or grinds through its travel even after lubrication. These aren’t jobs to defer. A gate that fails while moving can hurt someone or damage the gate beyond repair. Gate Repair New Braunfels offers free estimates in New Braunfels – call (855) 939-0250. We answer 24/7. Fast dispatch from 7am to 7pm, Sunday through Friday.
Frequently Asked Questions
A workable checklist for a New Braunfels home has three tiers. Monthly: cycle the gate and watch it, check the track or hinges for binding, clean the photo-eye lenses, test obstruction response, and listen for new sounds. Quarterly: lubricate the correct components (chain lube for chain drive, nothing added to a sealed worm drive), check the photo-eye alignment, and test the battery backup with a real power cut. Annually: full weld inspection at the four stress points, post and footing check, control board and wiring inspection, accessory testing, and a full safety device check. The brand you’re running – Mighty Mule, LiftMaster, DoorKing, whatever it is – mostly affects the battery and control-side checks, not the mechanical ones. Call (855) 939-0250 for an exact quote on anything you find – estimates are free.
A gate should get a homeowner inspection monthly, a lubrication and sensor pass quarterly, and a professional inspection annually. The annual check is the one that catches structural issues – weld cracks, post movement, control board wear – that a homeowner inspection can’t safely evaluate. If your gate runs high cycle counts (a busy access-controlled entry), the intervals shorten. Call (855) 939-0250 to book a free estimate for a professional inspection.
You can lubricate visible components safely – chain on a chain-drive operator, hinges, and roller fittings – if you use the correct product for each. You should not open a sealed worm-drive housing, and you should not lubricate the slide track. The wrong lubricant is a real failure mode, so if you’re unsure which operator you have or which product belongs on it, ask before you spray. Call (855) 939-0250 for an exact quote on a technician visit – estimates are free.
Test your battery backup by cutting power at the breaker and cycling the gate through a full open and close. If it completes the cycle at normal speed and the operator’s status light shows a good battery, it passes. If it moves slowly, stops, or won’t complete the close, the battery needs replacement or the charging circuit needs checking. Do this quarterly, not annually – batteries that pass in spring can fail by late summer. If yours fails the test, call (855) 939-0250 for an exact quote on replacement – estimates are free.
Gate welds crack most often at four points: the hinge post to gate frame junction, the mid-rail to outer-rail joints, the operator arm bracket on the gate leaf, and the bottom hinge base plate. To spot a crack early, clean the weld with a wire brush or rag and look for a thin dark line or a slightly fresher-looking surface along the weld bead. Hairline cracks are cheap to repair; full breaks are not. If you find one, stop cycling the gate and get a technician to look. Call (855) 939-0250 for an exact quote – estimates are free.
Yes – we work on the brand you already have, across nine major gate system brands including LiftMaster, DoorKing, Elite, Mighty Mule, FAAC, BFT, Linear, Viking, and Ghost Controls. That brand-agnostic approach means the diagnosis drives the recommendation, not a push toward a system we’d rather sell. You can see the full range of what we do on Gate Repair New Braunfels, and we also handle new installations when repair isn’t cost-effective. Call (855) 939-0250 for a free estimate.
The Bottom Line
Gate maintenance isn’t one task – it’s a sequenced inspection built around the specific operator and hardware you’re running. The monthly five-minute pass catches the changes before they become failures. The quarterly lubrication and sensor pass needs the right product on the right part, which is where most homeowner routines go wrong. The annual inspection is where structural weld cracks, post movement, control board wear, and battery failures get caught before they cost real money. If you’re not sure which of those you can do safely on your own system, that’s the point to call a gate specialist. We offer free estimates in New Braunfels. Call (855) 939-0250. We answer 24/7. Fast dispatch from 7am to 7pm, Sunday through Friday.
For a deeper look at our services across New Braunfels and the surrounding area, see New Braunfels.
Written by the team at Gate Repair New Braunfels.